The Plastic Lensbaby mounted in a Composer did well on a 60D, but as an 80mm equivalent lens it was restrictive for general purpose photography. On a ‘full frame’ 5D it should be a more useful 50mm lens (I really like 50mm lenses!) but a larger sensor should show more ‘Lensbaby softness’.
‘Clear’ picture style, f5.6. There isn’t the soft misty look I’d expected which is odd, probably caused by the picture style which creates highly saturated and contrasty images.
A day’s experimentation is called for….All shot in RAW + JPG (the final picture style is ‘baked into’ the JPG but not the RAW – just in case).
If you’ve never seen or used a Lensbaby a brief explanation is called for. They’re manual focus lenses with a very basic construction, in several designs most with ‘Waterhouse’ removable aperture disks (see below). Their uncorrected optical flaws are there to be exploited and the main reason for using them. Fitting smaller apertures (they’re held in place by magnets) reduces the optical flaws, but even at f16 they’re still there!
The Plastic lens is a 50mm f2 with aperture disks running from f2.8 to f16 (you could make your own if you liked!). Note that the Sweet 35 lens has a conventional internal aperture so no need for the ‘box of apertures’.

The blue ringed plastic lens (not ‘L’ series then!) with the aperture disks to the right (see f16 and f5.6?). The disk holder is on the right, the lid looks suspiciously like a 35mm canister lid, and the end of the ‘stick’ is a magnet to remove the disks from the lens. Simple but ingenious. It is a temptation just to leave one aperture disk in all day!
They’re very small and light, almost transforming the 5D into a lightweight camera (I’m used to the weight of 1 24-105mm lens). As you can see from the next shot, the lens can be pivoted around to move the central sharp part of the image around in the frame, though I must admit I hardly ever do this, preferring to keep the ‘sweet spot’ of sharpness in the middle.

The ‘lens’ as seen here is really a secondary mount called a ‘Composer’ – there are several types. Different lenses (glass, plastic, pinhole etc) are then slotted into this to achieve different results.
To counter the inherent low contrast of these lenses you can either correct in post-processing, or cheat and use Canon’s ‘Clear’ picture style which pushes contrast and saturation to extremes. Installing extra colour profiles on your DSLR is easy, some are already installed (‘Neutral’,’Standard’ etc) but there are three spare ‘slots’ for extra profiles – look here. Alternatively they can just be applied in Canon’s RAW DPP software – the result is the same but using software is a lot more fuss.
Focussing is best done on the LCD screen as these are low contrast and low sharpness lenses and the ‘Clear’ picture profile is simulated on the screen. It’s quite easy if you’re used to using MF lenses.

The first image with no ‘Clear’ style applied, just an ‘auto levels’ – not quite so dramatic. Still no soft mistiness which was so prominent on the 60D – interesting!
Enough about what it is – how well does it do?

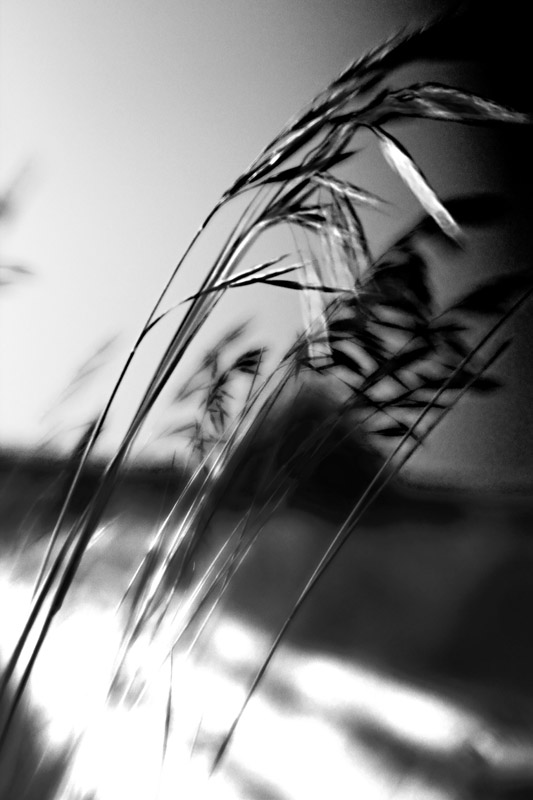
Keep it simple and abstract!
Firstly, the softness at the edge of the frame is stronger on full frame than APS-C – as expected (I didn’t expect quite this much though) so smaller apertures will be required unless you really want to go wild. As on the 60D, simple, bold compositions work best allowing the blur at the edge of the frame to emphasise the main subject.

At f8 – the centre is surprisingly sharp, the edges smearing into some nice blur.
To add to your creative ‘arsenal’ the lens will flare like crazy if sunlight shines over the front element :-

Sun out of frame to the upper left.
This shot was taken moving the camera very slightly to the right. Note that spectacular chromatic aberration on the roof!

Better!
Though oddly it’s not bad if you shoot straight into the sun!

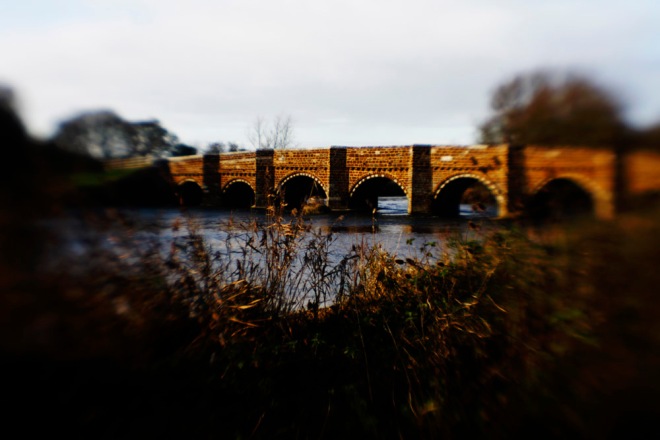
The proper 50mm focal length is much more useful for landscapes, though again, smaller apertures work best.

f5.6 disk – a bit too much blur maybe.
The ‘Clear’picture style really drags some good colour out of a scene on a cold winter’s day – a bit of de-saturation in Photoshop would tone it down nicely though if that’s more your taste.

At closer distances the blur looks more like that of a really fast lens – well, almost but not quite! The soft pastel colours in the stone and leaves look good here I think.

What to make of all this?
On a full frame camera you’ll need to use smaller apertures than on a 60D to tame the Plastic Lensbaby’s extreme edges (assuming you want to of course). Smaller apertures unfortunately seem to remove the soft, dreamy look that the lens produces on APS-C – these look more like the results from the glass lenses. On the other hand a 50mm field of view is more useful for general photography. I’ll test the glass lenses next, but so far I’d say it’s better on a 60D.
Using the ‘Clear’ picture style certainly adds a bit of zip to these low contrast images – it’s invaluable to help focussing and visualising the image before it’s taken, and can be changed in DPP if you prefer a more subtle result.
Lensbabys are a bit pricey new, but have been around long enough to buy cheaply second-hand. Unless it’s been run over by a truck there’s virtually nothing that can go wrong with this kit (no IS, no AF and not very sharp to begin with!) so it’s a pretty safe thing to do.
Hope you find this useful – it quite surprised me – thanks for looking!


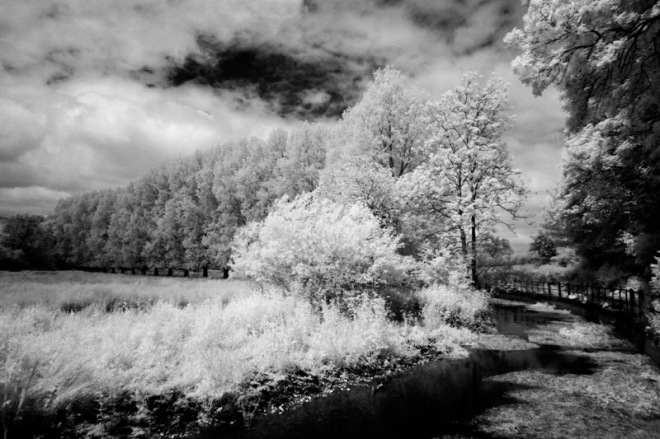
 All shots taken on a Canon 60D, Sweet 35 wide open (F2 I think?), Hoya R72 infrared filter, ISO 5000. post processed in DXO Optics 8 (my new favourite new PP program). There were hand held at slow shutter speeds but any camera shake is lost in the general blur anyway. Aggressive noise reduction can be used to get rid of the high ISO noise as – again – there is no real detail to lose!